
Logo/Site Title & Tagline
Changing the Site Title
1. From your WordPress Dashboard navigate to Appearance > Customize
2. In the left sidebar of the Customizer select General Settings
 3. Next select Logo/Site Title & Tagline
![]() 4. Under the section labeled Site Title enter the title you would like your website to have
4. Under the section labeled Site Title enter the title you would like your website to have
 5. When you are finished click on Save & Publish in the top-right corner of the sidebar
![]()
Changing the Tagline
1. From your WordPress Dashboard navigate to Appearance > Customize
2. In the left sidebar of the Customizer select General Settings
3. Next select Logo/Site Title & Tagline
![]() 4. Under the section labeled Tagline enter the tagline you would like your website to have
4. Under the section labeled Tagline enter the tagline you would like your website to have
 5. When you are finished click on Save & Publish in the top-right corner of the sidebar
![]()
Changing the Logo
1. From your WordPress Dashboard navigate to Appearance > Customize
2. In the left sidebar of the Customizer select General Settings
3. Next select Logo/Site Title & Tagline
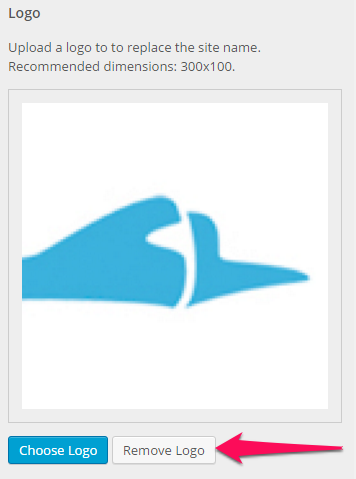
![]() 4. Under the section labeled Logo select the Choose Logo button
4. Under the section labeled Logo select the Choose Logo button
![]() 5. Now you should select an image from your Media Library, then you should click the Use As Logo button in the bottom-right corner
5. Now you should select an image from your Media Library, then you should click the Use As Logo button in the bottom-right corner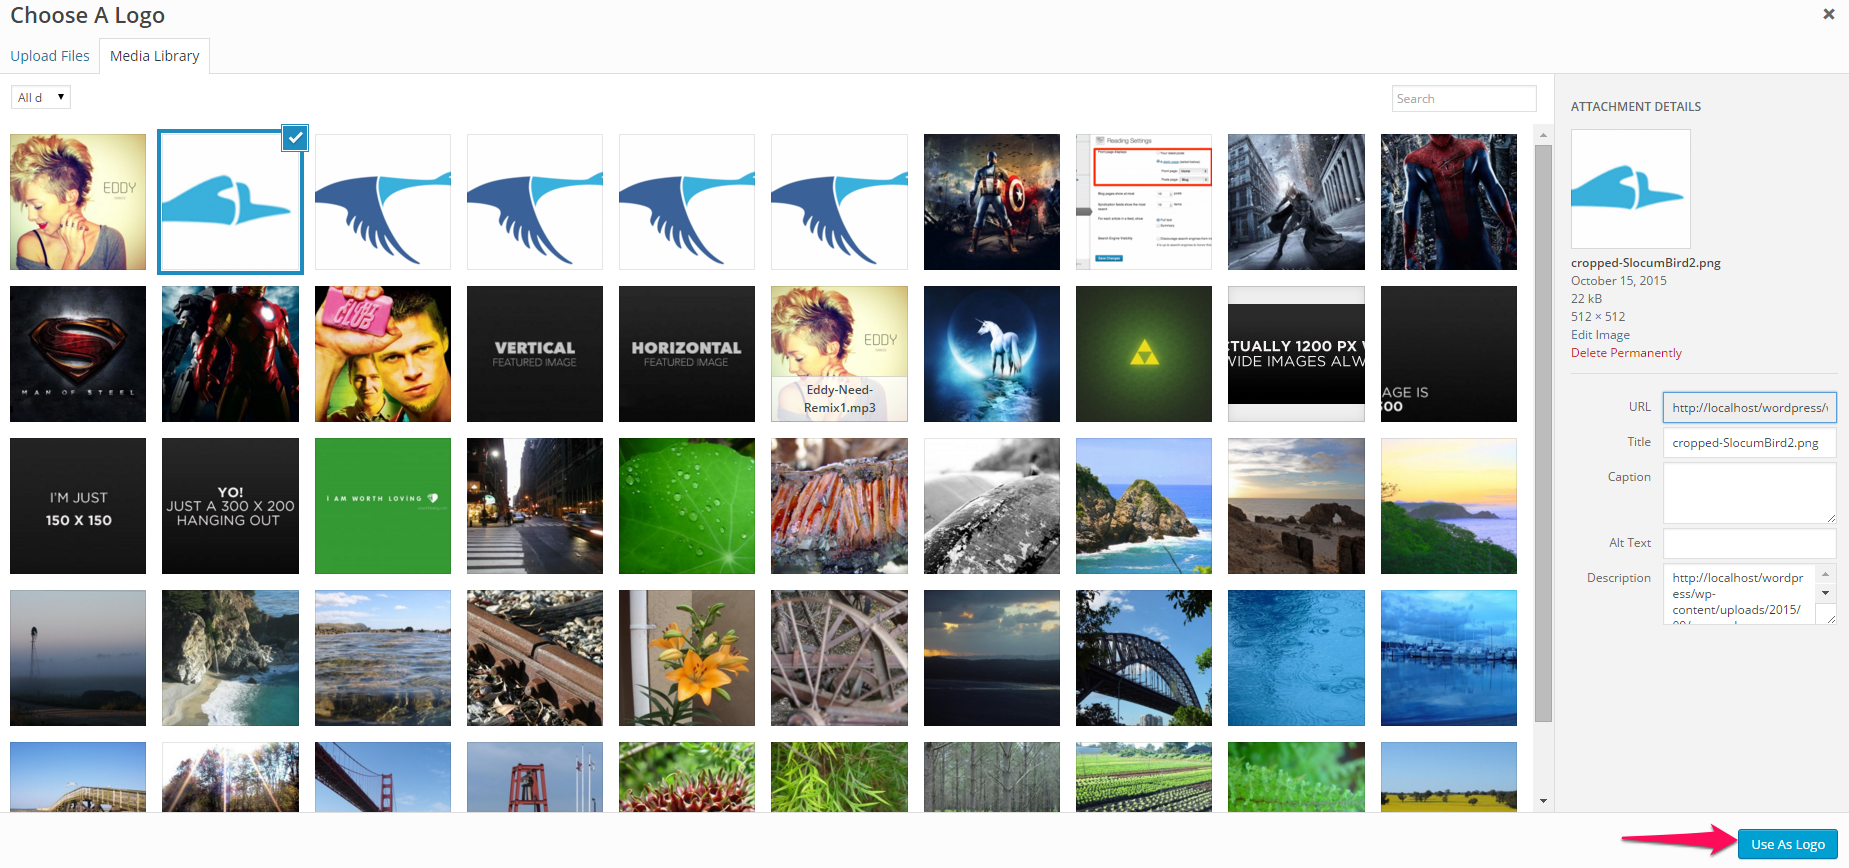
6. If you wanted to remove a logo you could click the Remove Logo button
 7. When you are finished click on Save & Publish in the top-right corner of the sidebar
![]()
Changing the Site Icon
1. From your WordPress Dashboard navigate to Appearance > Customize
2. In the left sidebar of the Customizer select General Settings
3. Next select Logo/Site Title & Tagline
![]()
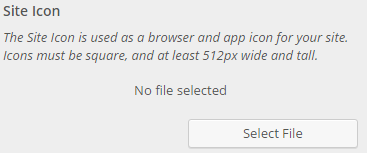
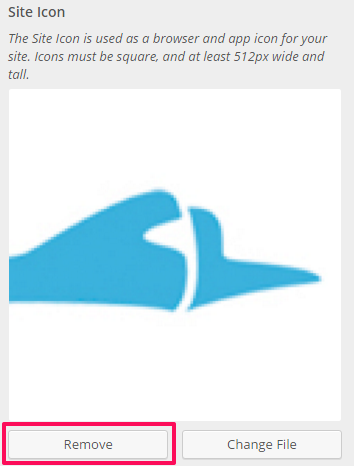
4. Under the section labeled Site Icon select the Select File button
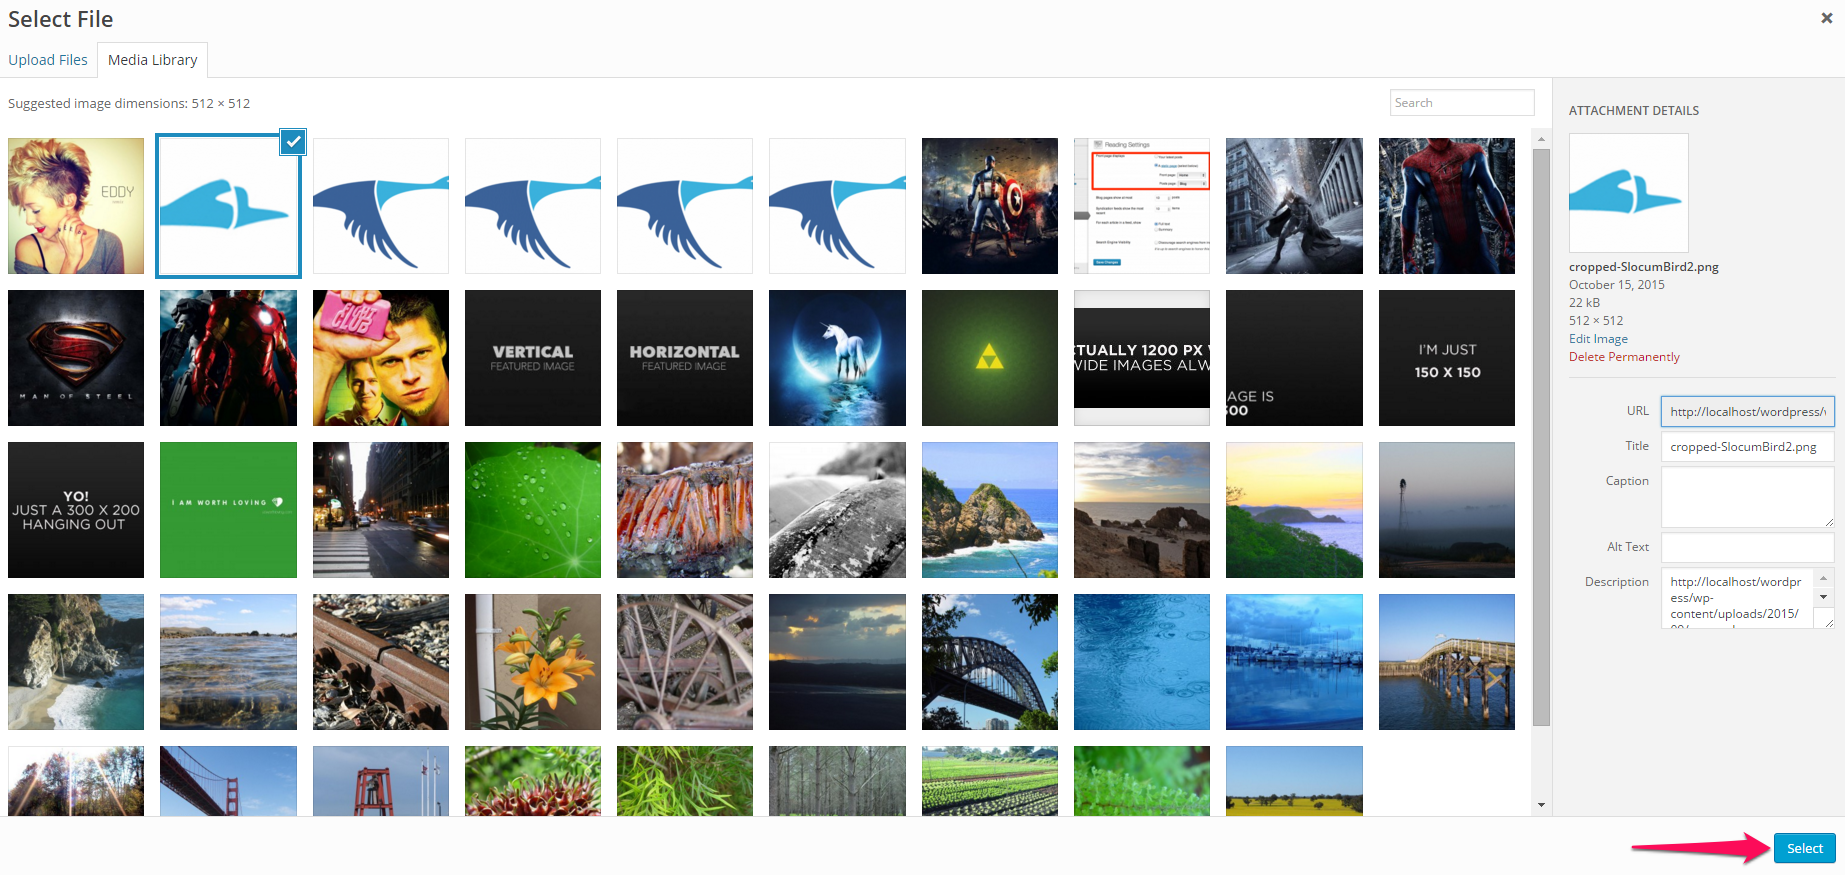
 5. Now you should select an image from your Media Library, then you should click the Select button in the bottom-right corner
 6. If you wanted to remove a logo you could click the Remove button
 7. When you are finished click on Save & Publish in the top-right corner of the sidebar
![]()
Static Front Page
Changing the Front Page
1. From your WordPress Dashboard navigate to Appearance > Customize
2. In the left sidebar of the Customizer select General Settings
3. Next select Static Front Page
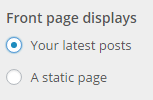
 4. Under the section labeled Front page displays you can let your Front Page be your Posts Page by selecting the option Your latest posts
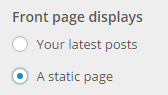
 5. Alternatively you can let your Front Page be a static page by selecting the option A static page. Under the section labeled Front page you can set which page you would like to be your Front Page
 6. When you are finished click on Save & Publish in the top-right corner of the sidebar
![]()
Changing the Posts Page
Note: You cannot change your Posts Page if your Front Page is your Posts Page.
1. From your WordPress Dashboard navigate to Appearance > Customize
2. In the left sidebar of the Customizer select General Settings
3. Next select Static Front Page
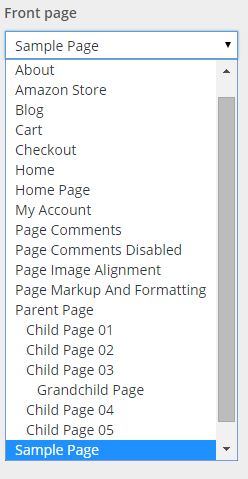
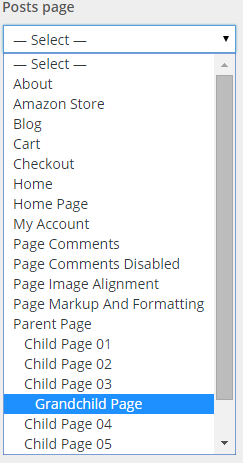
4. Under the section labeled Posts page you can use the dropdown to select which page you would like to be your Posts Page
 5. When you are finished click on Save & Publish in the top-right corner of the sidebar
![]()
Site Layout
Changing the Width of the Site
1. From your WordPress Dashboard navigate to Appearance > Customize
2. In the left sidebar of the Customizer select General Settings
3. Next select Site Layout
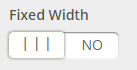
![]() 4. Under the section labeled Fixed Width you can choose as to whether you want a fixed width or not
4. Under the section labeled Fixed Width you can choose as to whether you want a fixed width or not
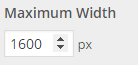
 5. Under the section labeled Maximum Width you can enter the number of pixels you would like your maximum width of the website to be or you can use the arrows on the right of the textbox to fine-tune your width
 6. When you are finished click on Save & Publish in the top-right corner of the sidebar
![]()
Featured Images
Changing the Size of the Featured Image
1. From your WordPress Dashboard navigate to Appearance > Customize
2. In the left sidebar of the Customizer select General Settings
3. Next select Featured Images
![]() 4. Under the label Featured Image Size you can use the dropdown menu to select from a size for your Featured Images.
4. Under the label Featured Image Size you can use the dropdown menu to select from a size for your Featured Images.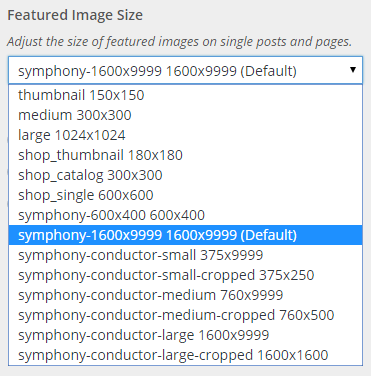 5. When you are finished click on Save & Publish in the top-right corner of the sidebar
![]()
Changing the Alignment of the Featured Image
1. From your WordPress Dashboard navigate to Appearance > Customize
2. In the left sidebar of the Customizer select General Settings
3. Next select Featured Images
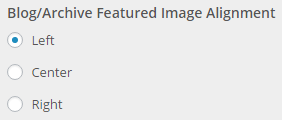
![]() 4. Under the label Blog/Archive Featured Image Alignment you can select which alignment option you would like
4. Under the label Blog/Archive Featured Image Alignment you can select which alignment option you would like
 5. When you are finished click on Save & Publish in the top-right corner of the sidebar
![]()
Show or Hide Elements
1. From your WordPress Dashboard navigate to Appearance > Customize
2. In the left sidebar of the Customizer select General Settings
3. Next select Show or Hide Elements
![]() 4. Now you can decide which elements are shown or hidden by flipping the switch under the associated label of the element
4. Now you can decide which elements are shown or hidden by flipping the switch under the associated label of the element

5. When you are finished click on Save & Publish in the top-right corner of the sidebar
![]()