
The Header section of the Customizer lets you change the font family, size, and color of the Site Title and the Tagline.
Site Title
Changing the Color of the Site Title
1. From the WordPress Dashboard navigate to Appearance > Customize
2. In the left sidebar select Header

3. Next select Site Title

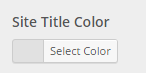
4. Select Select Color under Site Title Color
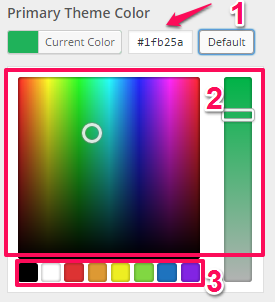
5. A color palette should pop up. When it does you can either:
a. Select a color by inserting a hex value
b. Drag the cursor and slider around in the color panels to get an exact color
c. Choose from the default colors at the bottom
d. Click on Default to get the default color scheme
6. Click Save & Publish in the top-right corner of the Customizer sidebar

Changing the Font Size of the Site Title
1. From the WordPress Dashboard navigate to Appearance > Customize
2. In the left sidebar select Header
3. Next select Site Title
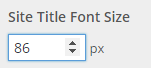
4. Under the label Site Title Font Size you can either type in your own number in the textbox to change the font size, or you can use the up and down arrows on the side of the textbox to tweak the font size by 1
5. Click Save & Publish in the top-right corner of the Customizer sidebar
Changing the Font Family of the Site Title
1. From the WordPress Dashboard navigate to Appearance > Customize
2. In the left sidebar select Header
3. Next select Site Title
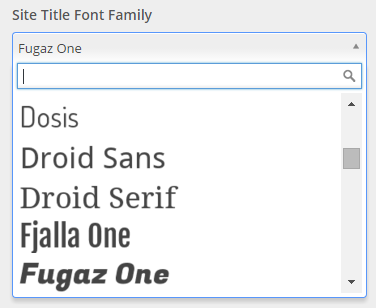
4. Under the label Site Title Font Family there is a dropdown menu. Upon opening the dropdown menu you can either scroll through the fonts and select one or you can search for one using the search box and select one
5. Click Save & Publish in the top-right corner of the Customizer sidebar
Tagline
Changing the Color of the Tagline
1. From the WordPress Dashboard navigate to Appearance > Customize
2. In the left sidebar select Header
3. Next select Tagline
![]()
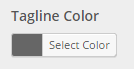
4. Select Select Color under Tagline Color
5. A color palette should pop up. When it does you can either:
a. Select a color by inserting a hex value
b. Drag the cursor and slider around in the color panels to get an exact color
c. Choose from the default colors at the bottom
d. Click on Default to get the default color scheme
6. Click Save & Publish in the top-right corner of the Customizer sidebar
Changing the Font Size of the Tagline
1. From the WordPress Dashboard navigate to Appearance > Customize
2. In the left sidebar select Header
3. Next select Tagline
![]()
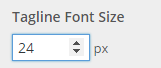
4. Under the label Tagline Font Size you can either type in your own number in the textbox to change the font size, or you can use the up and down arrows on the side of the textbox to tweak the font size by 1
5. Click Save & Publish in the top-right corner of the Customizer sidebar
Changing the Font Family of the Tagline
1. From the WordPress Dashboard navigate to Appearance > Customize
2. In the left sidebar select Header
3. Next select Tagline
![]()
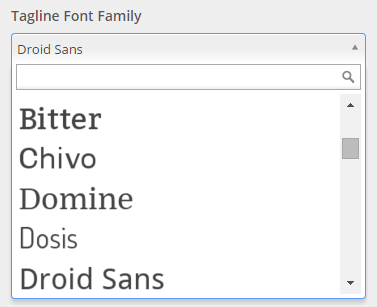
4. Under the label Tagline Font Family there is a dropdown menu. Upon opening the dropdown menu you can either scroll through the fonts and select one or you can search for one using the search box and select one
5. Click Save & Publish in the top-right corner of the Customizer sidebar