Changing the Alignment of the Main Header
1. From your WordPress Dashboard navigate to Appearance > Customize
2. In the left sidebar of the Customizer select Main Header
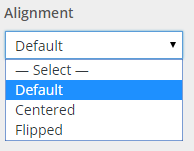
![]() 4. Using the dropdown select the alignment you would like for the Main Header
4. Using the dropdown select the alignment you would like for the Main Header
 5. When you are finished click on Save & Publish in the top-right corner of the sidebar
Styling the Site Title
Changing the Color of the Site Title
1. From your WordPress Dashboard navigate to Appearance > Customize
2. In the left sidebar of the Customizer select Main Header
![]() 4. Under the label Site Title Color click Select Color
4. Under the label Site Title Color click Select Color
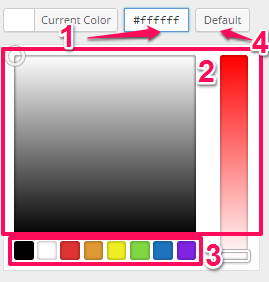
 5. A color palette should pop up. When it does you can either:
a. Select a color by inserting a hex value
b. Drag the cursor and slider around in the color panels to get an exact color
c. Choose from the default colors at the bottom
d. Click on Default to get the default color scheme
6. When you are finished click on Save & Publish in the top-right corner of the sidebar
Changing the Font Size of the Site Title
1. From your WordPress Dashboard navigate to Appearance > Customize
2. In the left sidebar of the Customizer select Main Header
![]() 4. Under the label Site Title Font Size there is a textbox you can edit to change the font size or you can use the arrows on the side of the textbox to fine tune your font size
4. Under the label Site Title Font Size there is a textbox you can edit to change the font size or you can use the arrows on the side of the textbox to fine tune your font size
 5. When you are finished click on Save & Publish in the top-right corner of the sidebar
Changing the Font Family of the Site Title
1. From your WordPress Dashboard navigate to Appearance > Customize
2. In the left sidebar of the Customizer select Main Header
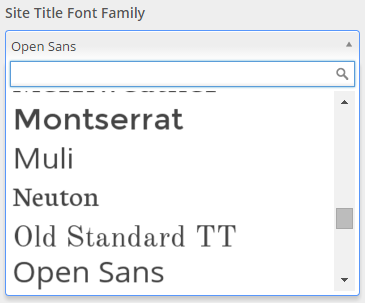
![]() 4. Under the label Site Title Font Family there is a dropdown menu. You can either select a font by using the dropdown menu or by using the search feature at the top of the menu
4. Under the label Site Title Font Family there is a dropdown menu. You can either select a font by using the dropdown menu or by using the search feature at the top of the menu
 5. When you are finished click on Save & Publish in the top-right corner of the sidebar
Styling the Tagline
Changing the Color of the Tagline
1. From your WordPress Dashboard navigate to Appearance > Customize
2. In the left sidebar of the Customizer select Main Header
![]() 4. Under the label Tagline Color click Select Color
4. Under the label Tagline Color click Select Color
 5. A color palette should pop up. When it does you can either:
a. Select a color by inserting a hex value
b. Drag the cursor and slider around in the color panels to get an exact color
c. Choose from the default colors at the bottom
d. Click on Default to get the default color scheme
6. When you are finished click on Save & Publish in the top-right corner of the sidebar
Changing the Font Size of the Tagline
1. From your WordPress Dashboard navigate to Appearance > Customize
2. In the left sidebar of the Customizer select Main Header
![]() 4. Under the label Tagline Font Size there is a textbox you can edit to change the font size or you can use the arrows on the side of the textbox to fine tune your font size
4. Under the label Tagline Font Size there is a textbox you can edit to change the font size or you can use the arrows on the side of the textbox to fine tune your font size
 5. When you are finished click on Save & Publish in the top-right corner of the sidebar
Changing the Font Family of the Tagline
1. From your WordPress Dashboard navigate to Appearance > Customize
2. In the left sidebar of the Customizer select Main Header
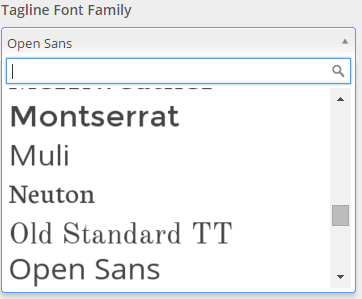
![]() 4. Under the label Tagline Font Family there is a dropdown menu. You can either select a font by using the dropdown menu or by using the search feature at the top of the menu
4. Under the label Tagline Font Family there is a dropdown menu. You can either select a font by using the dropdown menu or by using the search feature at the top of the menu
 5. When you are finished click on Save & Publish in the top-right corner of the sidebar
Navigation in the Main Header
Adding/Removing Navigation in the Main Header
1. From your WordPress Dashboard navigate to Appearance > Customize
2. In the left sidebar of the Customizer select Main Header
![]() 4. Under the label Primary Navigation you can use the dropdown menu to select the menu that you would like in the Primary Navigation, to have no navigation in the Primary Navigation select — Select —
4. Under the label Primary Navigation you can use the dropdown menu to select the menu that you would like in the Primary Navigation, to have no navigation in the Primary Navigation select — Select —
 5. When you are finished click on Save & Publish in the top-right corner of the sidebar
Styling the Navigation in the Main Header
Colors
1. From your WordPress Dashboard navigate to Appearance > Customize
2. In the left sidebar of the Customizer select Main Header
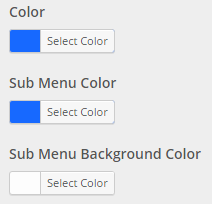
![]() 4. There are three sections of colors that can be edited, Color, Sub Menu Color, and Sub Menu Background Color. Color and Sub Menu Color control the color of text while Sub Menu Background Color controls the color of a background
4. There are three sections of colors that can be edited, Color, Sub Menu Color, and Sub Menu Background Color. Color and Sub Menu Color control the color of text while Sub Menu Background Color controls the color of a background
5. To edit any of these click on Select Color under any of those options
 6. A color palette should pop up. When it does you can either:
a. Select a color by inserting a hex value
b. Drag the cursor and slider around in the color panels to get an exact color
c. Choose from the default colors at the bottom
d. Click on Default to get the default color scheme
7. When you are finished click on Save & Publish in the top-right corner of the sidebar
Font Size
1. From your WordPress Dashboard navigate to Appearance > Customize
2. In the left sidebar of the Customizer select Main Header
![]() 4. Under the section Font Size there is an editable textbox. You can either type a number into the textbox or use the arrows on the side of the textbox to fine tune your font size
4. Under the section Font Size there is an editable textbox. You can either type a number into the textbox or use the arrows on the side of the textbox to fine tune your font size
 5. When you are finished click on Save & Publish in the top-right corner of the sidebar
Font Family
1. From your WordPress Dashboard navigate to Appearance > Customize
2. In the left sidebar of the Customizer select Main Header
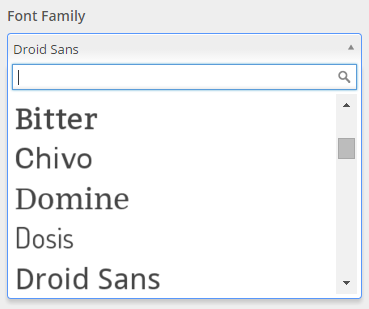
![]() 4. Under the section Font Family there is a dropdown menu. You can either search for the font family you are looking for with the search feature or you can select a font family in the dropdown menu
4. Under the section Font Family there is a dropdown menu. You can either search for the font family you are looking for with the search feature or you can select a font family in the dropdown menu
 5. When you are finished click on Save & Publish in the top-right corner of the sidebar
Changing the Background of the Main Header
1. From your WordPress Dashboard navigate to Appearance > Customize
2. In the left sidebar of the Customizer select Main Header
![]() 4. Under the label Background Color you can set a background color:
4. Under the label Background Color you can set a background color:
a. Click Select Color
b. A color palette should pop up. When it does you can either:
i. Select a color by inserting a hex value
ii. Drag the cursor and slider around in the color panels to get an exact color
iii. Choose from the default colors at the bottom
iv. Click on Default to get the default color scheme
5. Under the label Background Image you can select a background image:
a. Click Select Image
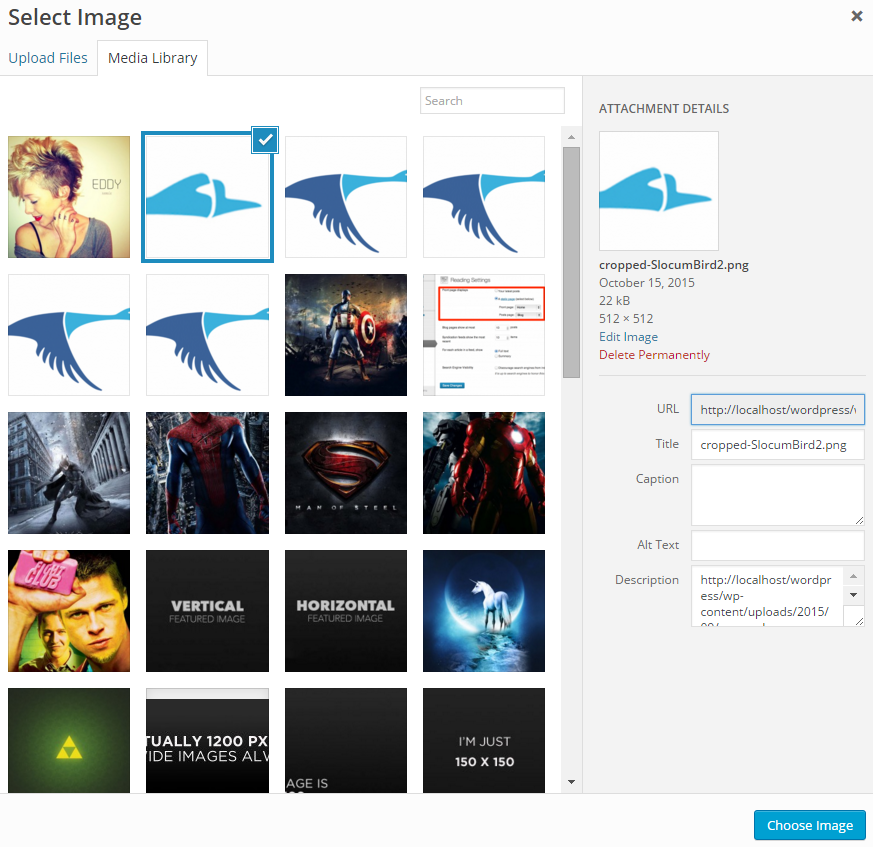
b. Your Media Library should pop up, select the image that you would like to be your background image and click Choose Image
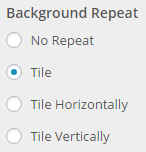
c. Next you’ll want to set your Background Image Options, under the label Background Repeat you can set how you would like your background to repeat by selecting one of the options
d. Under the next label, Background Position, select the position you’d like your background to be in
e. Finally, under the label Background Attachment select the background attachment you would like to have
6. When you are finished click on Save & Publish in the top-right corner of the sidebar

