
Adding Your Social Media
1. From your WordPress Dashboard navigate to Appearance > Theme Options
2. Select the tab labeled Social Media
![]() 3. In the text boxes below enter the URL to the social media that is associated to the label of the textbox
3. In the text boxes below enter the URL to the social media that is associated to the label of the textbox
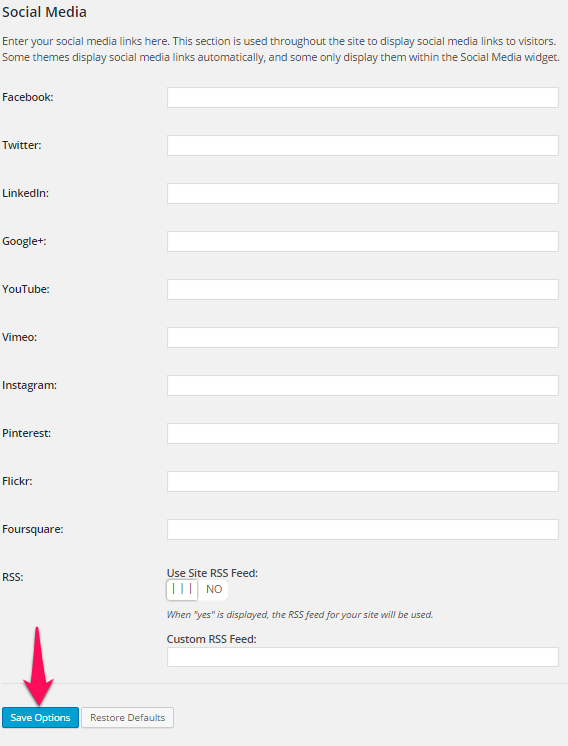 4. Click Save Options in the bottom-left corner of the page (see above screenshot)
Creating a Social Media Widget
1. From the WordPress Dashboard navigate to Appearance > Customize
2. In the left sidebar of the Customizer select Widgets
 3. Choose the section you would like to put the widget
4. Click on the Add a Widget button
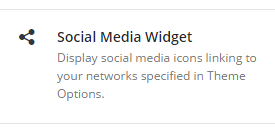
![]() 5. Select the Social Media widget
5. Select the Social Media widget
 6. Now you should have the one option that come with a Social Media Widget in the Customizer sidebar, Title. To change the Title type in a title in the textbox under the label. This will cause a title to appear above your social media icons.
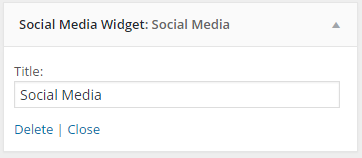 7. When you are finished click the Save & Publish button in the top-right of the sidebar
![]()