
With Baton, Conductor, and the Conductor Slider add-on activated Conductor will get three new display layouts Testimonials, Hero, and News.
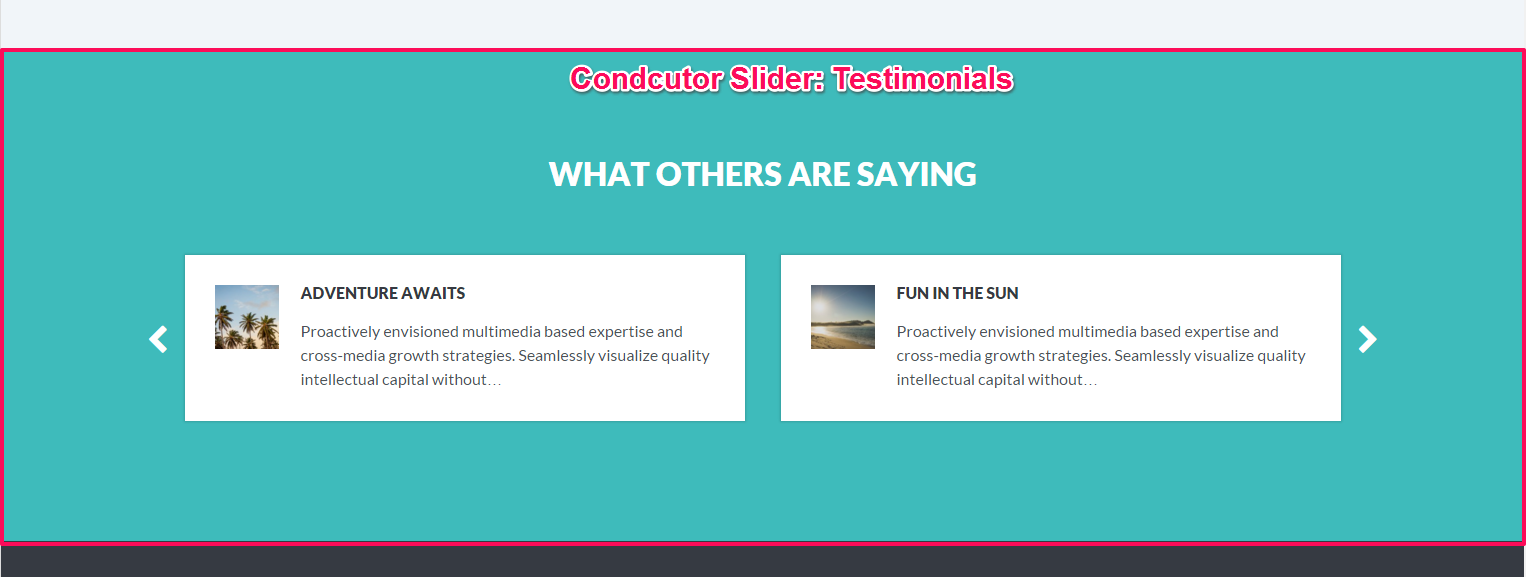
Testimonials Layout Example
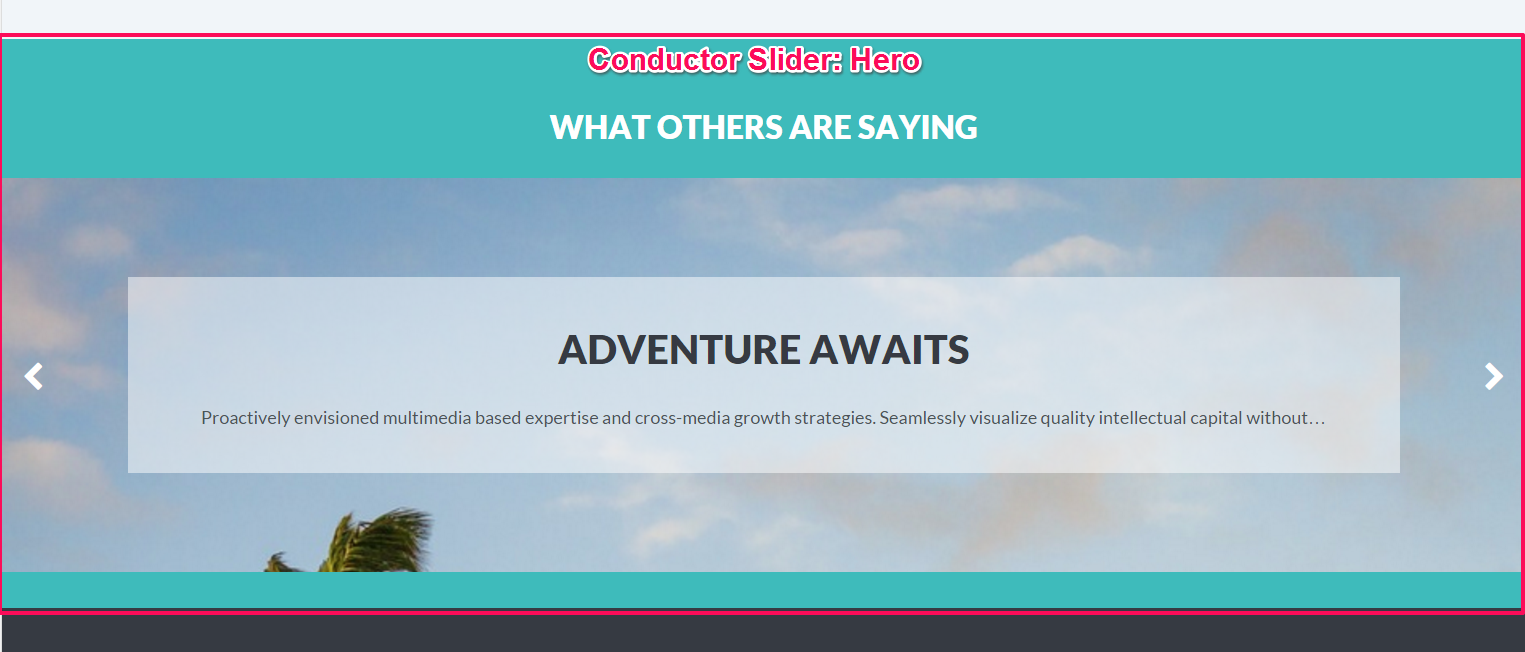
Hero Slider Layout Example
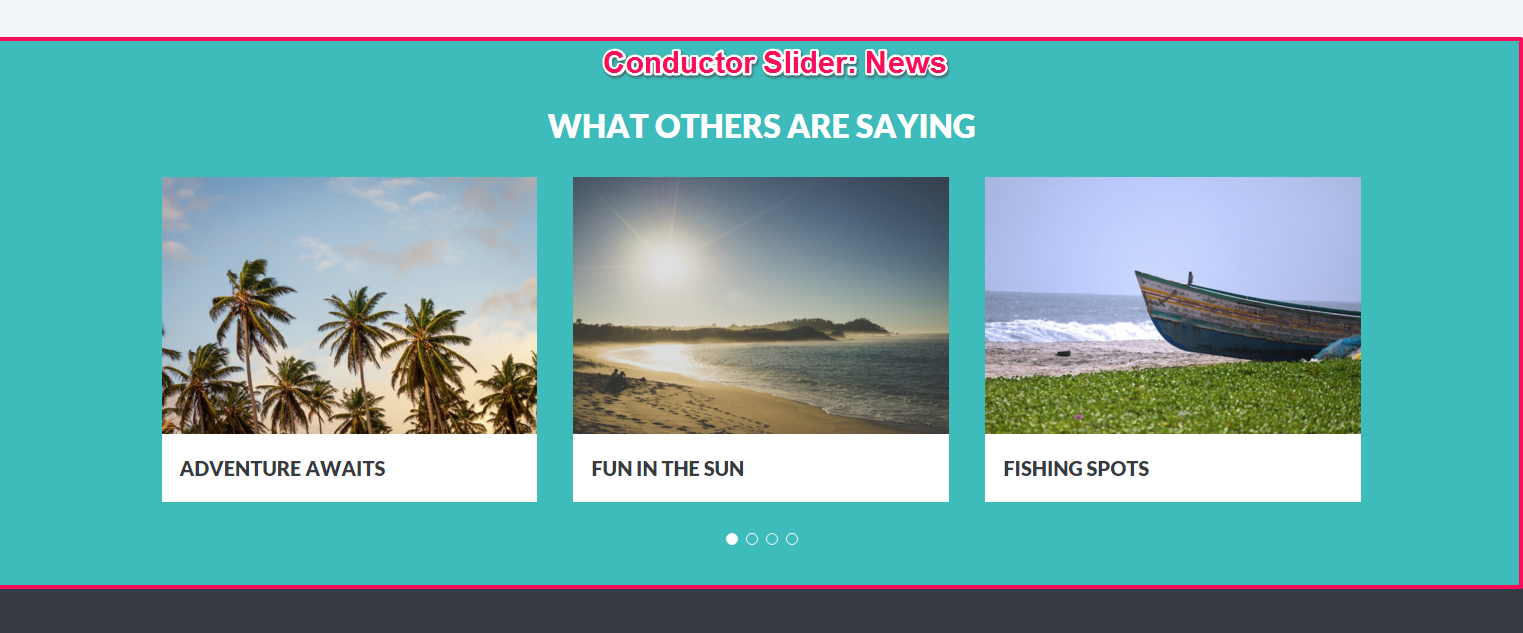
News Slider Layout Example
Creating a Conductor Widget Using the Conductor Slider Add-on
1. From the WordPress Dashboard navigate to Appearance > Customize.
2. Create a Conductor widget.
Note: If you are unsure as to how to create a Conductor widget look here.
Note: Your Conductor widget MUST display multiple posts or pages.
3. Under the Display Settings of your Conductor Widget you can select whatever layout you want.
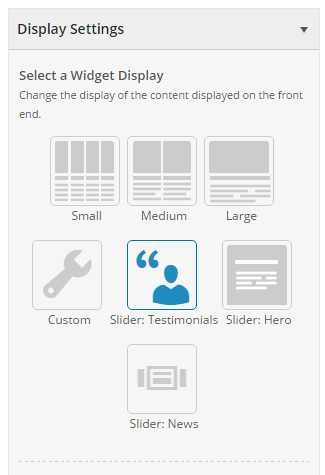
4. Click the Save & Publish button in the top right corner in the Customizer sidebar.
![]()
Customizing the Look of Your Conductor Slider
There are several ways for you to customize your Conductor Slider. Below are just a few ways for you to customize them.
Adjusting the Number of Columns
1. From your Conductor widget navigate to your Display Settings
2. Under the Display Settings looked for the section labeled Number of Columns (outlined in the screenshot below)
3. Slide the slider to adjust the number of rows your Conductor widget has
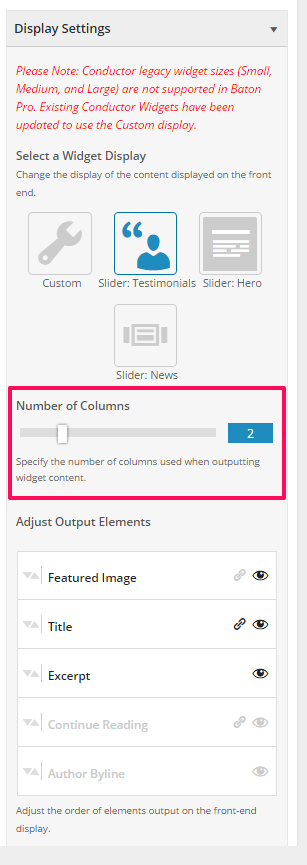
4. Click the Save & Publish button in the top right corner in the Customizer sidebar
![]()
Editing What Content Appears Using the Display Settings
1. From your Conductor widget navigate to your Display Settings
2. Under the Display Settings looked for the section labeled Adjust Output Elements (outlined in the screenshot below)
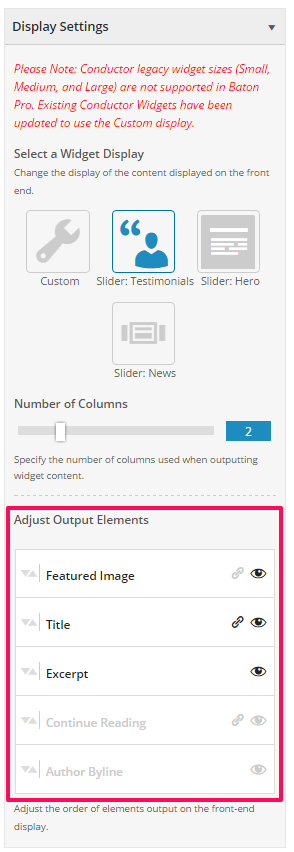
3. Next to each output element there is an eyeball. You can click on that eyeball to toggle if that certain element displays or not (see screenshot above)
4. Next to some of the output elements there is a chain-link to represent if the element links the user to the post or page the output element goes along with. By clicking that chain-link you can toggle if the output element links the user or not (see screenshot above)
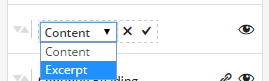
5. If you hover over certain output elements a pencil appears. By clicking on that pencil you can choose an alternate form of output for that element. In the screenshot below the Content element can be changed to an Excerpt element. Click on the checkmark to accept the change
Note: You can edit how many words are in the Excerpt under the Advanced Settings
![]()