
Under General Settings you can change some basic settings about your website like your Site Title, Tagline, Logo, etc.
Logo/Site Title & Tagline
Site Title
1. From the WordPress Dashboard navigate to Appearance > Customize
2. On the left sidebar select General Settings

3. Next select Logo/Site Title & Tagline
![]()
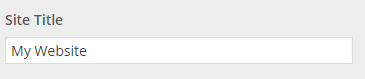
4. Under the Site Title label there is a textbox. Enter the title you would like your website to have
5. Click Save & Publish in the top-right corner of the sidebar
![]()
Tagline
1. From the WordPress Dashboard navigate to Appearance > Customize
2. On the left sidebar select General Settings
3. Next select Logo/Site Title & Tagline
![]()
4. Under the Tagline label there is a textbox. Enter the title you would like your website to have

5. Click Save & Publish in the top-right corner of the sidebar
![]()
Logo
1. From the WordPress Dashboard navigate to Appearance > Customize
2. On the left sidebar select General Settings
3. Next select Logo/Site Title & Tagline
![]()
4. Under the Logo label you can select an image by clicking on Choose Logo
![]()
5. When the button is clicked your Media Library should pop up. Select an image then click on the Use As Logo button in the bottom-right corner
![]()
6. If you want to remove a logo image just click on the Remove Logo button next to the Choose Logo button
7. Click Save & Publish in the top-right corner of the sidebar
![]()
Site Icon
1. From the WordPress Dashboard navigate to Appearance > Customize
2. On the left sidebar select General Settings
3. Next select Logo/Site Title & Tagline
![]()
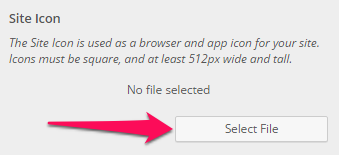
4. Under the Site Icon label you can select an image by clicking on Select File
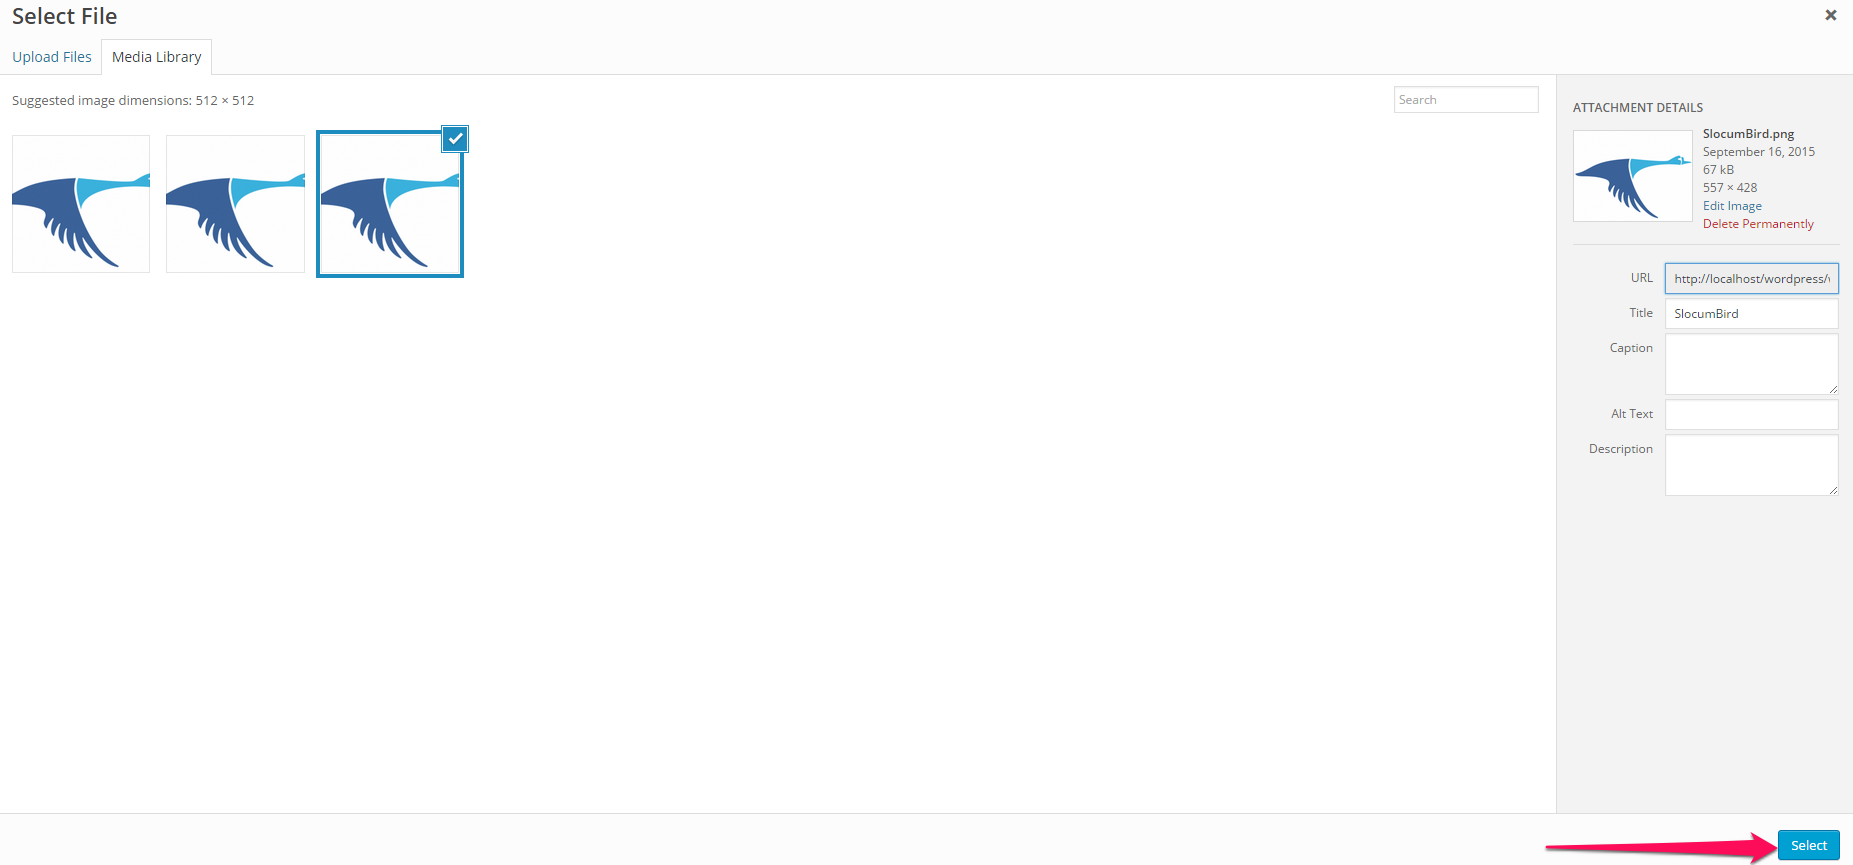
5. When the button is clicked your Media Library should pop up. Select an image then click on the Select button in the bottom-right corner
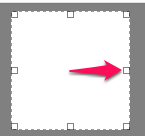
6. Next you should be prompted to crop the image. Whatever is in the selection box is what will be in your Site Icon. After you have what you’d like in your selection box click on the Crop Image button in the bottom-right corner. There is a preview panel on the right to help you select what you want for your Site Icon
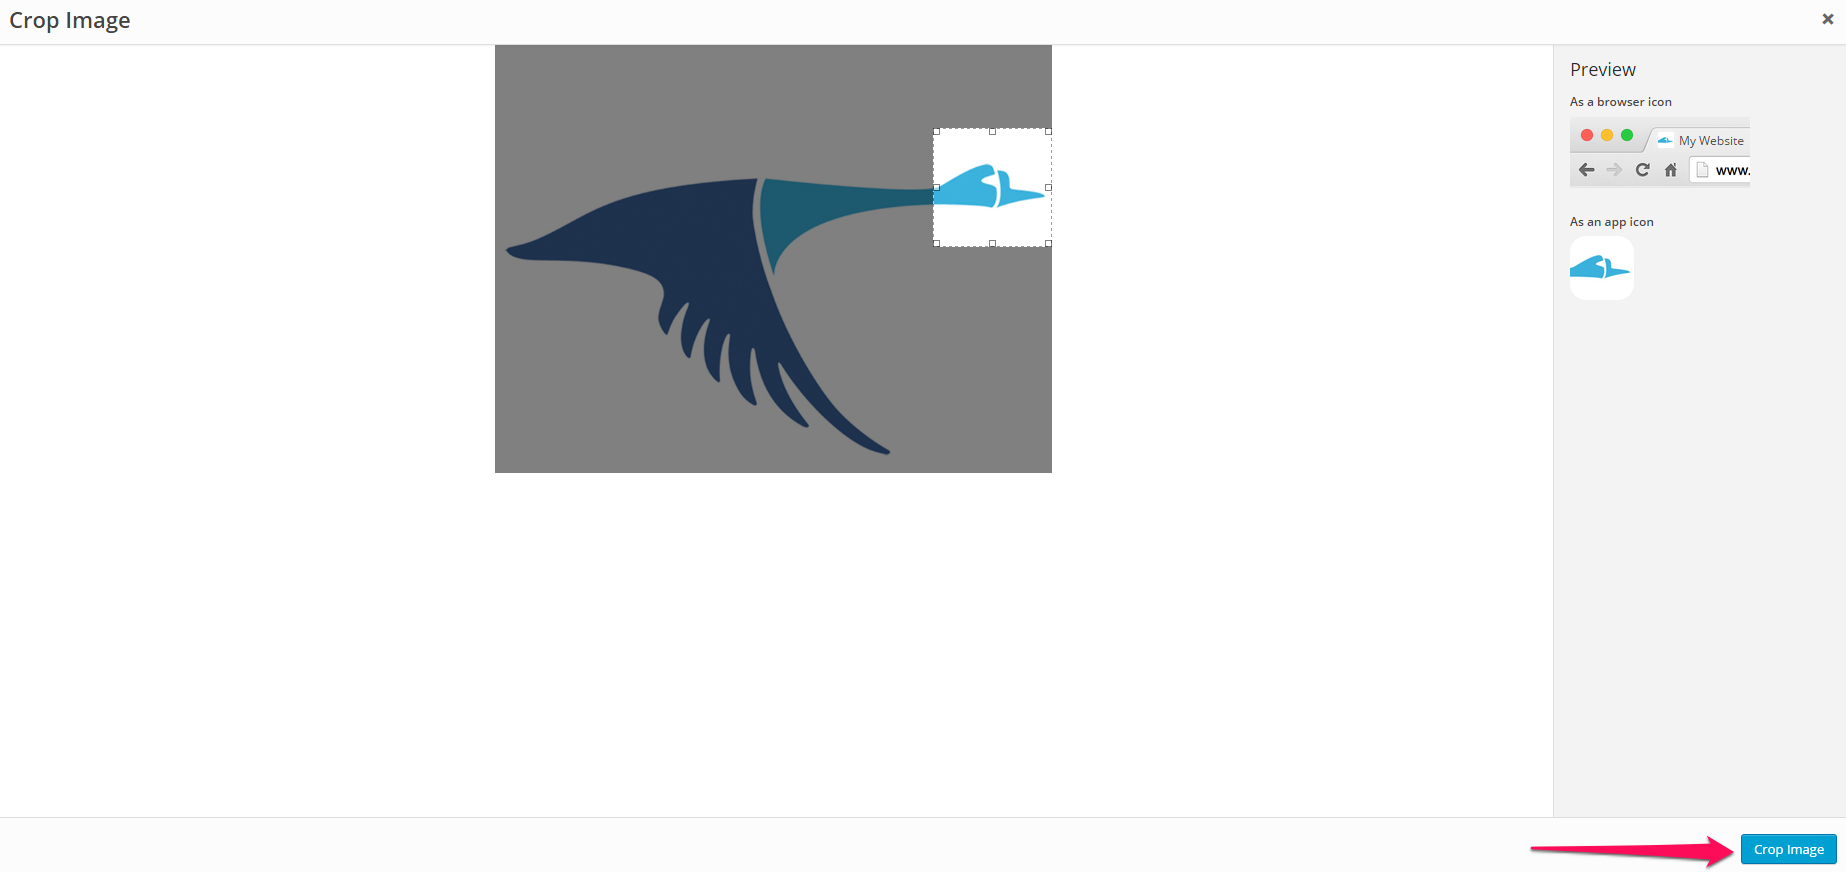
a. To move the selection box you can click on it and drag it around the image
b. To change the size of the selection box click on the small white boxes on the edges of the selection box. (There are eight small white boxes)
7. Click Save & Publish in the top-right corner of the sidebar
8. If you want to remove the current Site Icon or change it you can select Remove or Change File

a. Selecting Change File will have you repeat steps 4 and 5
9. Click Save & Publish in the top-right corner of the sidebar
![]()
Static Front Page
1. From the WordPress Dashboard navigate to Appearance > Customize
2. On the left sidebar select General Settings
3. Next select Static Front Page

4. If you want a static front page click on A static page or if you’d rather have your front page to be your recent posts select Your latest posts
5. If you selected A static page you can then select what your front page and posts page will be.
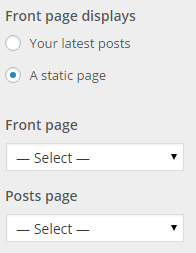
a. To select a static front page:
i. Click on the dropdown under the Front page label
ii. Select a page in the dropdown
iii. Click Save & Publish in the top-right corner of the sidebar
b. To select a posts page:
i. Click on the dropdown under the Posts page label
ii. Select a page in the dropdown
iii. Click Save & Publish in the top-right corner of the sidebar
![]()
Show or Hide Elements
1. From the WordPress Dashboard navigate to Appearance > Customize
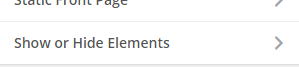
2. On the left sidebar select General Settings
3. Next select Show or Hide Elements
4. From this menu you can toggle which of the elements in the list you want to appear by clicking on the toggle switch next to the desired option
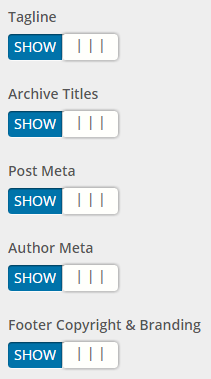
5. When you finish showing and/or hiding elements click Save & Publish in the top-right corner of the Customizer sidebar
![]()