
Changing the Primary Theme Color
1. From the WordPress Dashboard navigate to Appearance > Customize
2. On the left sidebar select Colors & Background
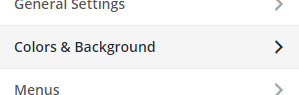
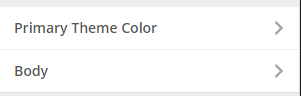
3. Now select Primary Theme Color
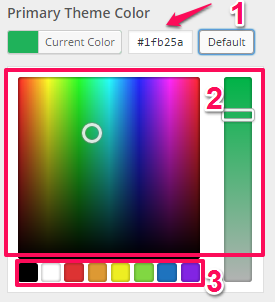
4. Click on Select Color
5. A color palette should pop up. When it does you can either:
a. Select a color by inserting a hex value
b. Drag the cursor and slider around in the color panels to get an exact color
c. Choose from the default colors at the bottom
d. Click on Default to get the default color scheme
6. Click Save & Publish in the top-right corner of the sidebar
![]()
Changing the Background Color
Note: A background color will not appear at the same time as a background image.
1. From the WordPress Dashboard navigate to Appearance > Customize
2. On the left sidebar select Colors & Background
3. Now select Body
4. Click on Select Color
5. A color palette should pop up. When it does you can either:
a. Select a color by inserting a hex value
b. Drag the cursor and slider around in the color panels to get an exact color
c. Choose from the default colors at the bottom
d. Click on Default to get the default color scheme
Click Save & Publish in the top-right corner of the Customizer sidebar
![]()
Changing the Background Image
Note: A background color will not appear at the same time as a background image.
1. From the WordPress Dashboard navigate to Appearance > Customize
2. On the left sidebar select Colors & Background
3. Now select Body
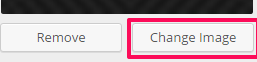
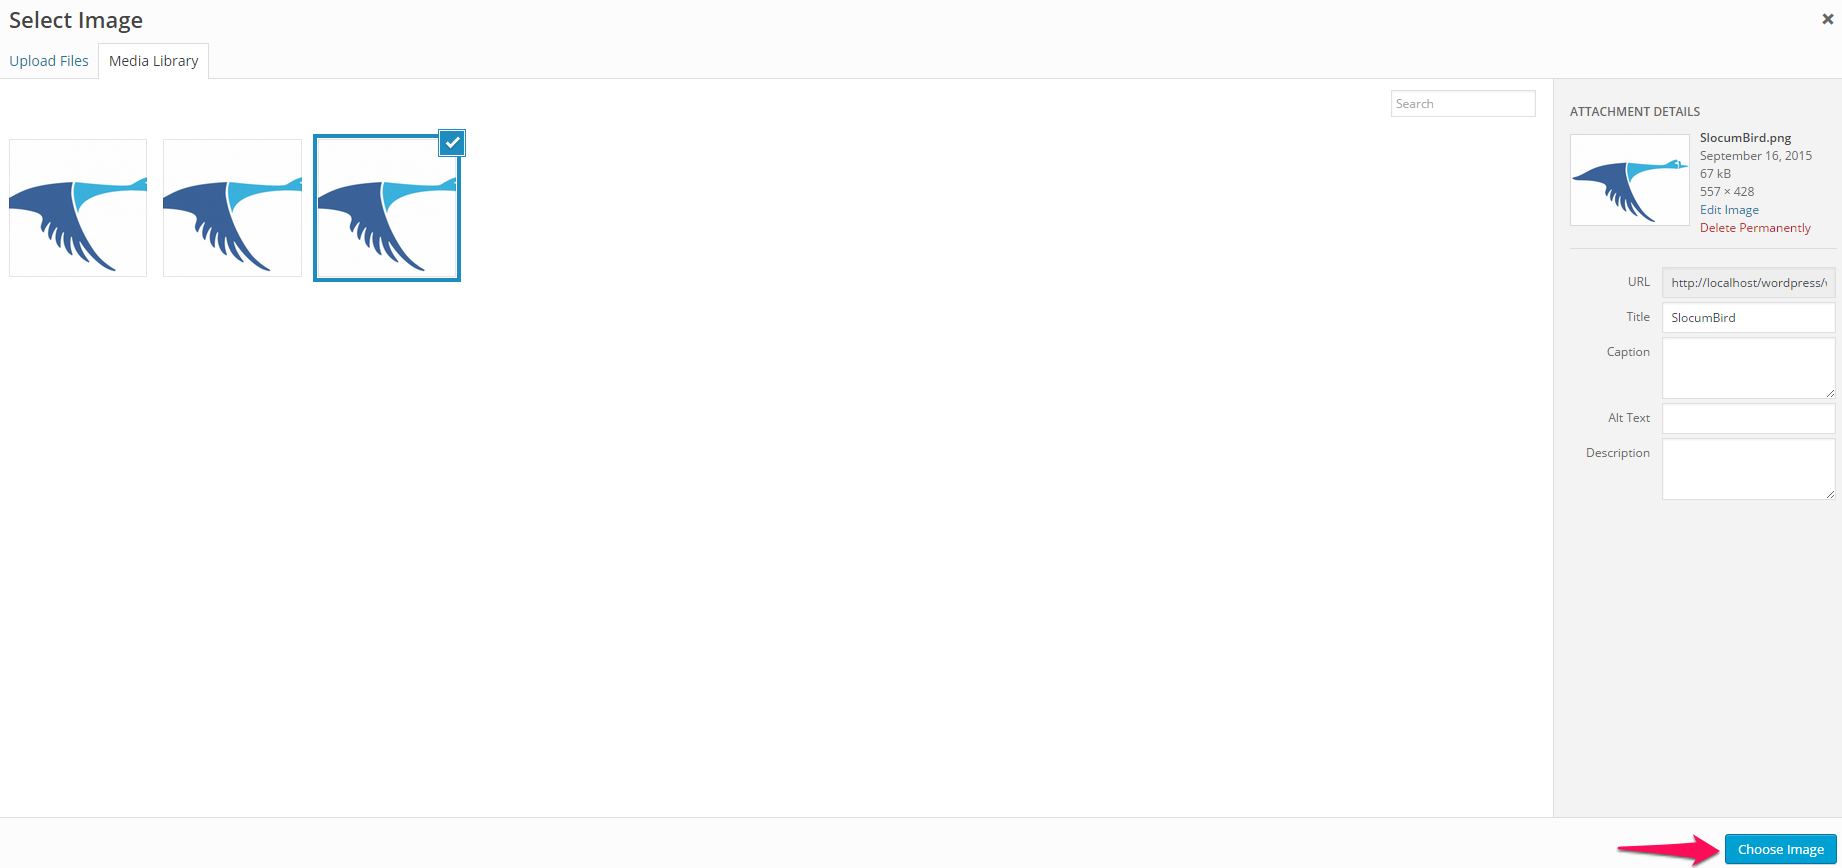
4. Under the section labeled Background Image click on the button labeled Change Image (if there is no image the button will say Select Image)
5. Select an image from your media library then click the Choose Image button in the bottom-right corner
6. Click Save & Publish in the top-right corner of the Customizer sidebar
Other Background Image Options
Simple Shop Pro comes with some options to add customization to your background image.
Background Repeat
Background Repeat lets you control how your image repeats around the page. The repeat options are: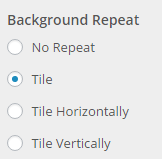
1. No Repeat
a. The image will show once on the page and not repeat.
2. Tile
a. The image will repeat vertically and horizontally across the entire page.
3. Tile Horizontally
a. The image will repeat in one horizontal line across the entire page.
4. Tile Vertically
a. The image will repeat in one vertical line across the entire page.
Background Position
Background Position lets you control where your image will be positioned on the page. The position options are:
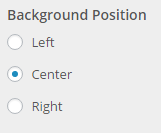
1. Left
a. The image will be positioned to the left and will repeat from the left of the page.
2. Center
a. The image will be positioned in the center and will repeat from the center of the page.
3. Right
a. The image will be positioned to the right and will repeat from the right of the page.
Background Attachment
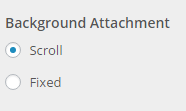
Background Attachment lets you control how the image repeats on a page that scrolls. The attachment options are:
1. Scroll
a. The image will keep repeating down the entire page, even where scrolling occurs.
2. Fixed
a. The image will repeating until the maximum height has been reached. Repeating will not occur when scrolling occurs.
Changing These Options
These options can all be changed in the same place and in the same way.
1. From the WordPress Dashboard navigate to Appearance > Customize
2 .On the left sidebar select Colors & Background
3. Select Body
4. At the bottom of the sidebar all three of the Background Options are there. Just select one of the radio buttons within each section and then click the Save & Publish button in the top-right corner of the Customizer sidebar
Setting the Background Image Back to the Default Image
1. From the WordPress Dashboard navigate to Appearance > Customize
2. On the left sidebar select Colors & Background
3. Now select Body
4. Click on the Remove button under the current background image that is currently set up.
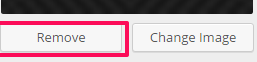
5. Once that button is clicked it will be turned into a button labeled Default. Clicking that button will restore the default background image that comes with the theme.
6. Click Save & Publish in the top-right corner of the Customizer sidebar