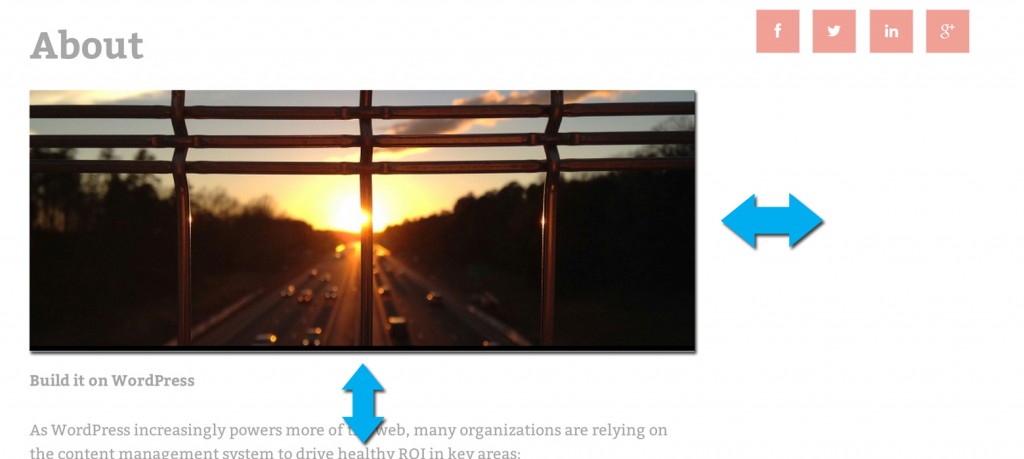
Do you know that image that is the main component of most posts and pages on a WordPress website? It is called the featured image.

Many people want to adjust the size of said image after purchasing our themes. Here is how you can go about doing that.
Change Default size of featured images using our WordPress themes
We have implemented technology into our WordPress themes to make it very easy to modify the default featured image size. Navigate to the Appearance > Theme Options pane and then going to the General tab
There you will see a dropdown to change the size of the featured image.

Default Featured image sizes for our themes are
- Thumbnail (150 x 150)
- Medium (300 x 300)
- Large (1024 x 1024)
That being said, our themes come with specific featured image sizes to maximize the look of the theme, and are marked by an abbreviated version of the name of the theme. For example, our Socialize (soc) theme comes with two additional featured image sizes (732 x 350 and 1128 x 530).
Play around and see what works! Just make sure to hit the “Save Changes” button at the bottom of the Theme Options.
Getting Additional Featured Image Sizes
It is possible that installing plugins will give you even more featured image sizes. They will usually be marked by the name of the plugin installed.
In the below example, you can see that the default featured image selections also include sizes set by other plugins, like Max Gallery or Sensei by WooThemes.

My featured image still does not look right!
If your featured image still seems skewed, make sure that the image files you are uploading and using as featured images are large enough to fit in the container you have set.
For example, an image that is originally 500 x 500 cannot fit in a container that is 1000 x 500.
